
Food Photography: How to Take Great Food Photos
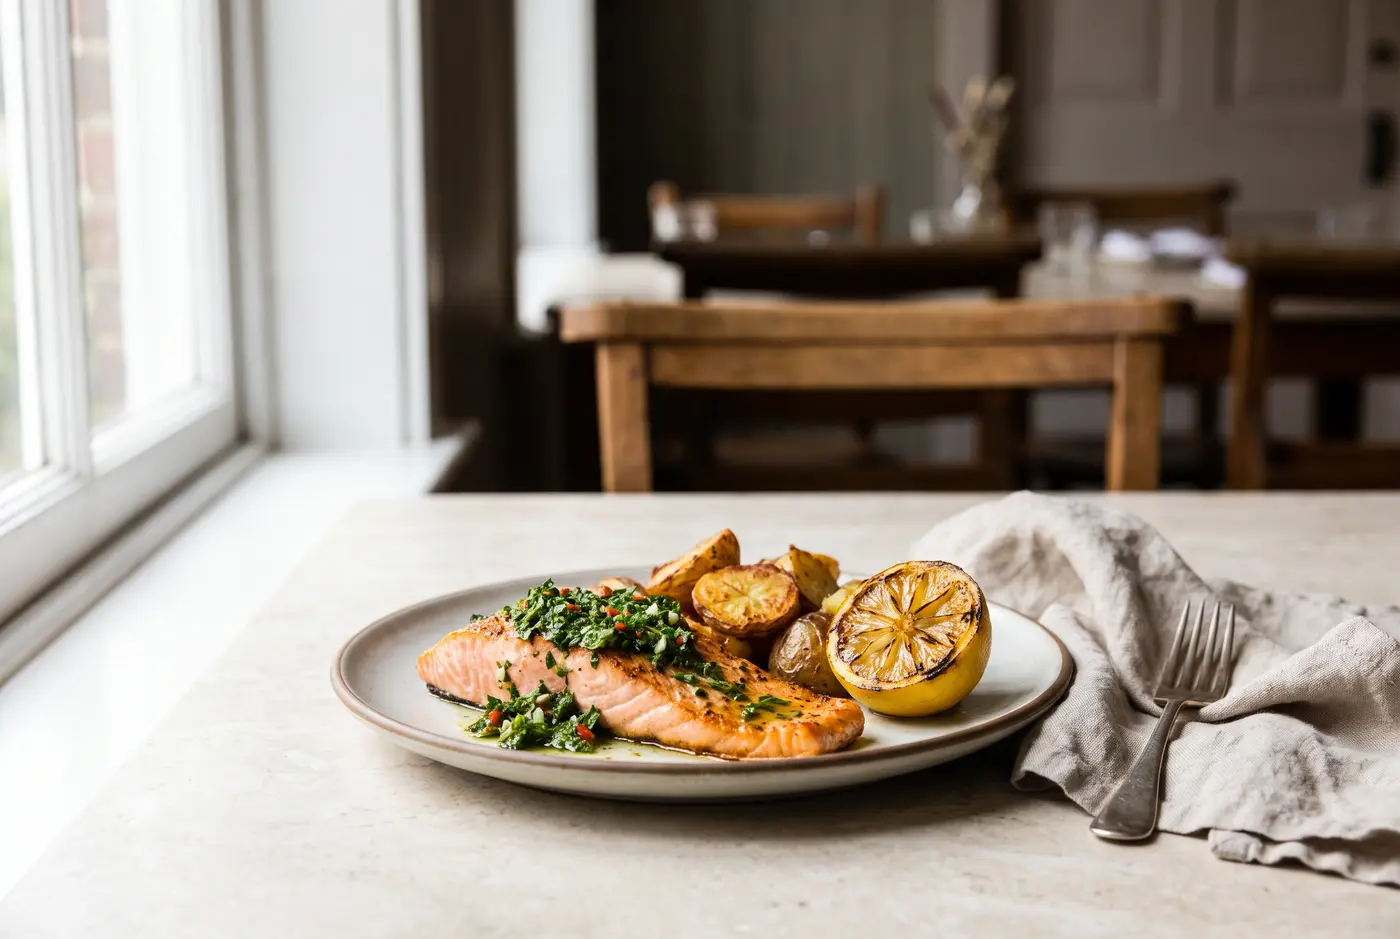
Food photography is how most customers taste your food before they order it. A great food photo shows exactly what arrives at the table, makes it look fresh, and does it in a fraction of a second on a phone screen. You don't need a studio to get there. Soft light, the right angle, a simple background, and a few styling habits do most of the work.
This guide covers how to take great food photos for menus, delivery apps, websites, and social media, whether you shoot with a phone or a camera.
What makes a great food photo?
Before you pick up a camera, it helps to know what you are aiming for. Strong food photography usually has:
- One clear hero. The viewer knows instantly which dish the photo is about.
- Soft, directional light that shows shape and texture without harsh glare.
- True-to-life color. The dish looks like what the kitchen actually serves.
- A simple background that separates the food from its surroundings.
- Fresh details such as steam, gloss, crisp edges, and clean plates.
- Room to crop so the same photo works as a square menu tile and a wide banner.
Every tip below supports one of those goals.
1. Use soft side light
Light matters more than any camera. The easiest setup is a table beside a large window, with the dish lit from the side. Side light creates small shadows across the surface of the food, which is what makes bread look crusty, cheese look melted, and lettuce look crisp.
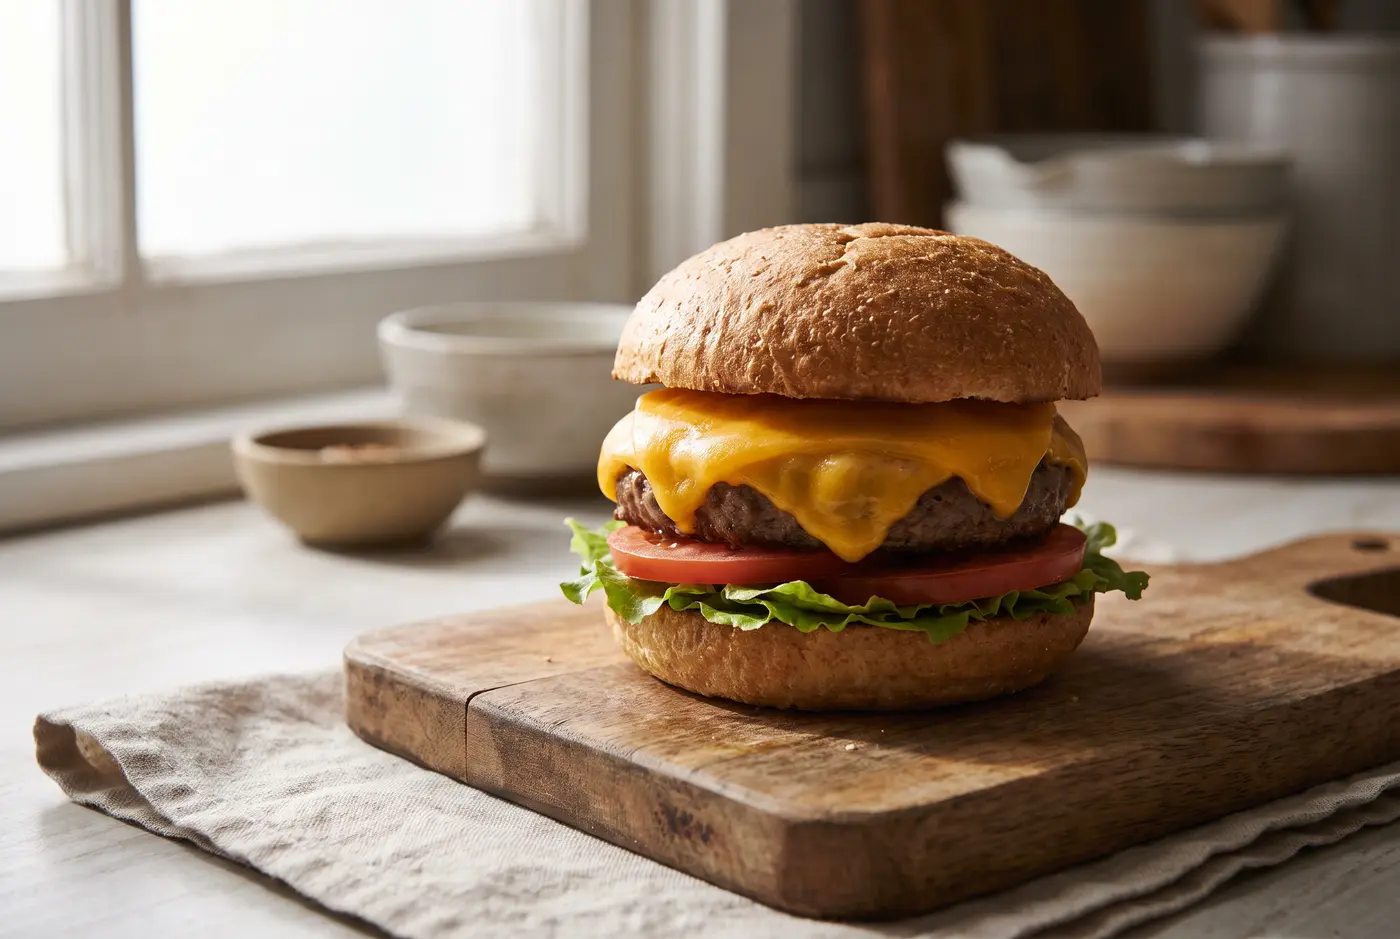
Avoid the two most common lighting problems:
- Direct flash flattens the food, adds shiny hot spots, and darkens the background.
- Overhead restaurant lights add a yellow or green color cast and hard shadows.
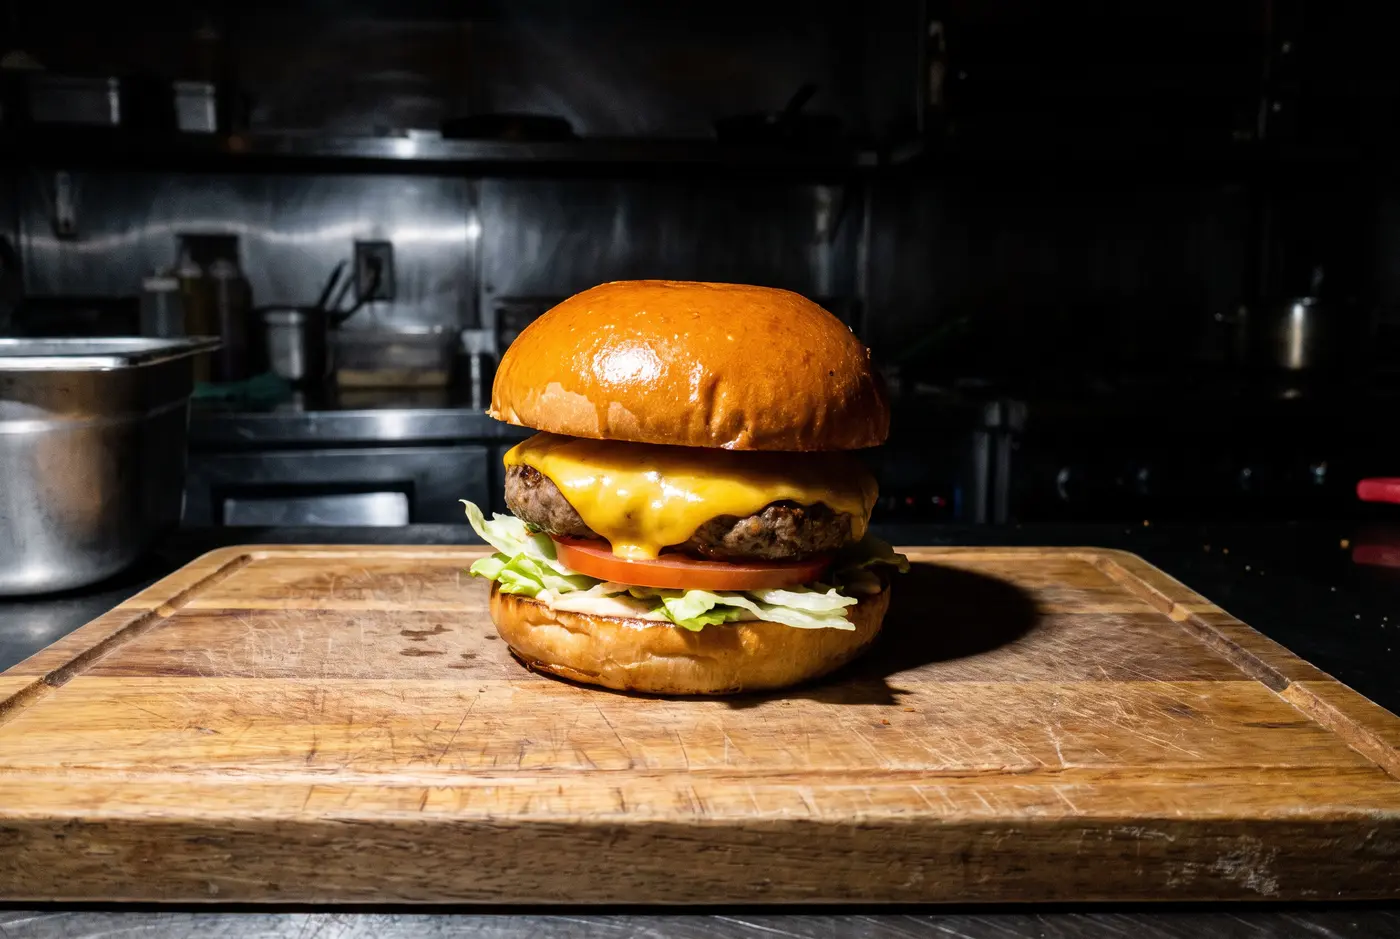
Turn off the overhead lights, diffuse direct sun with a sheer curtain, and place a white card or foam board opposite the window to soften the shadows. For window and one-light setups step by step, see our food photography lighting guide.
2. Choose the angle that sells the dish
The best angle is the one that shows the dish's selling point.
- Overhead (90 degrees): bowls, pizzas, salads, flatbreads, and spreads where the toppings matter.
- 45 degrees: most plated dishes. It feels like the diner's view from the table.
- Straight-on or low: burgers, sandwiches, layer cakes, drinks, and anything tall.
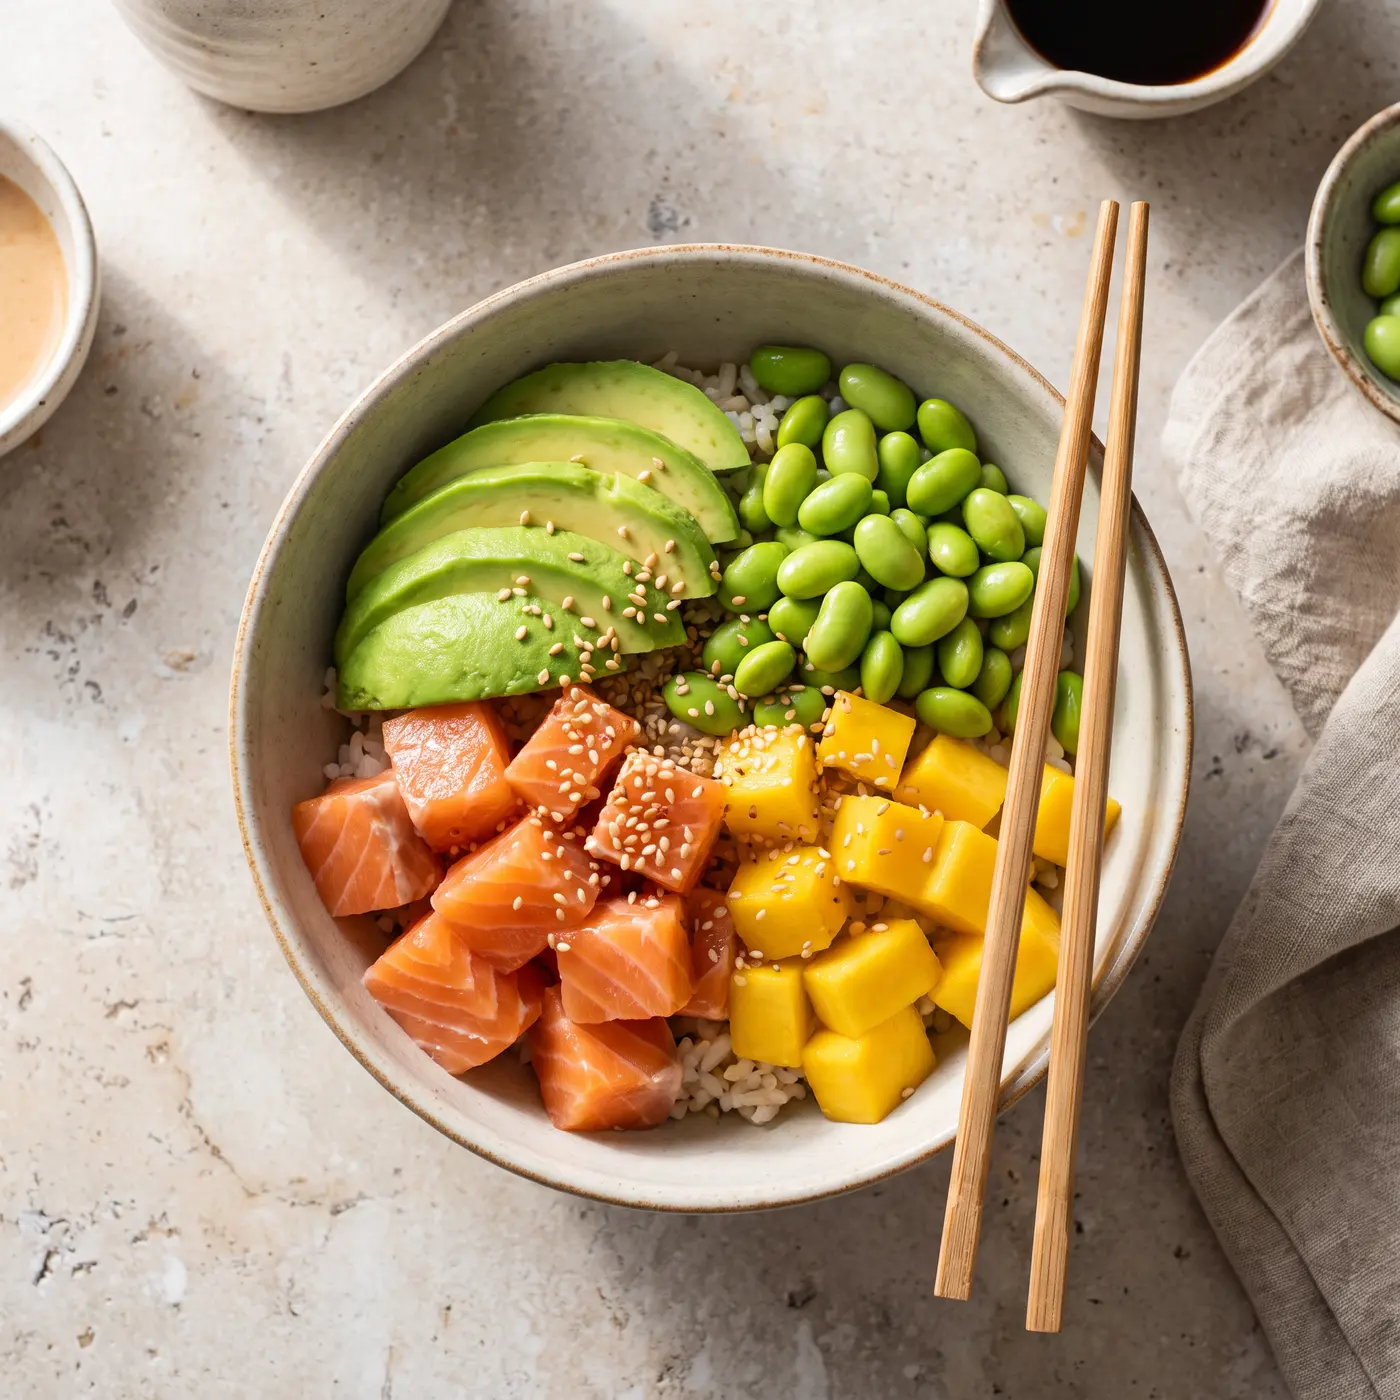
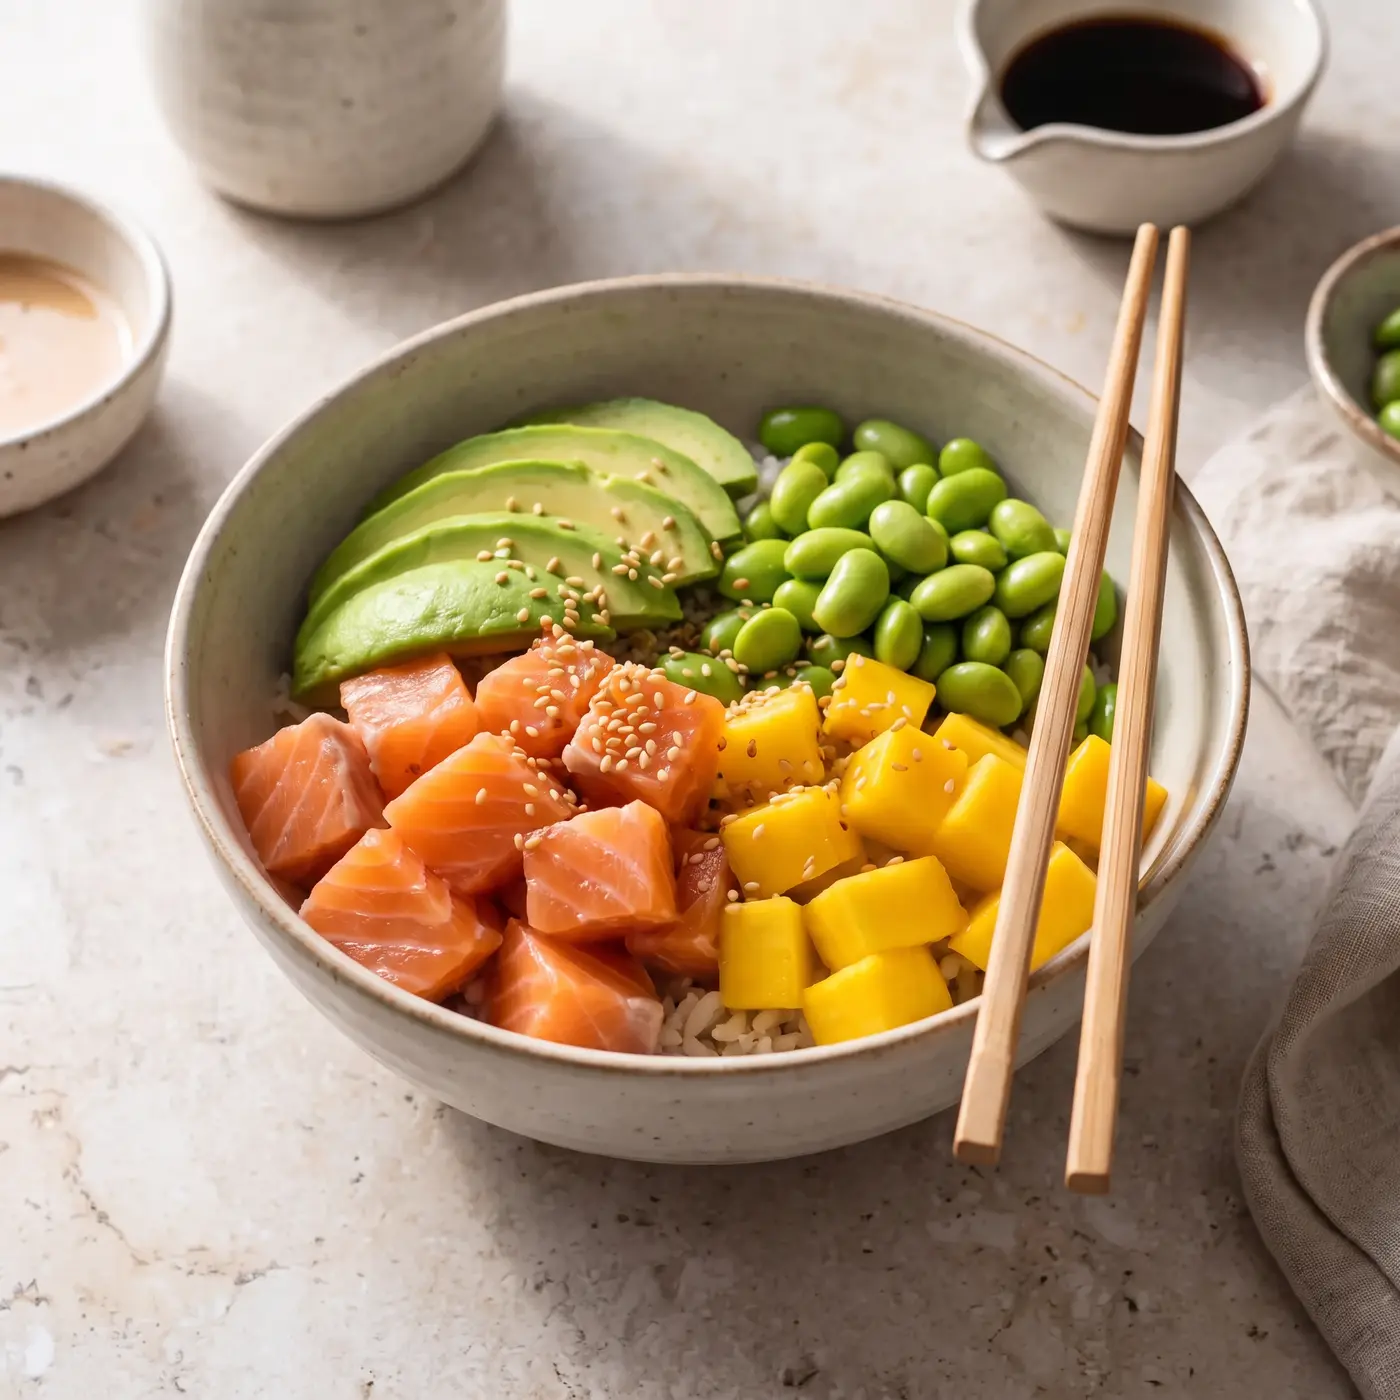
If you are unsure, shoot the dish from two angles and compare them on a phone screen, where most customers will see the photo. Our guide to food photography angles has more examples by dish.
3. Keep the background simple
The background should separate the food from its surroundings, not compete with it. Matte surfaces work better than glossy ones, and solid colors work better than busy patterns.
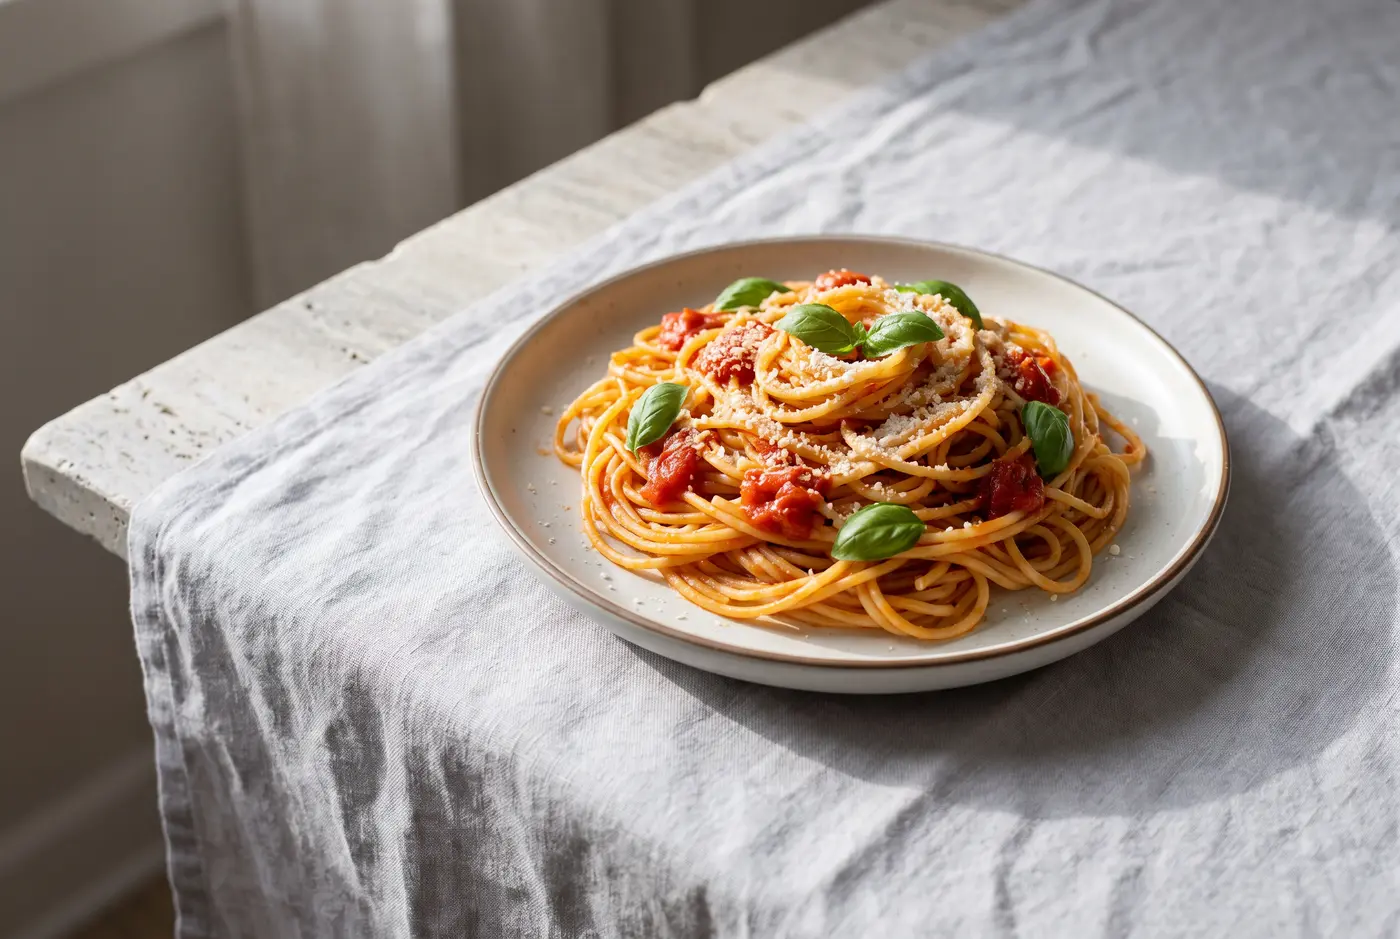
Light neutrals such as white, pale gray, and light stone look clean and bright, which suits delivery apps and menus. Darker surfaces make bright colors and steam stand out and suit evening or fine-dining menus.
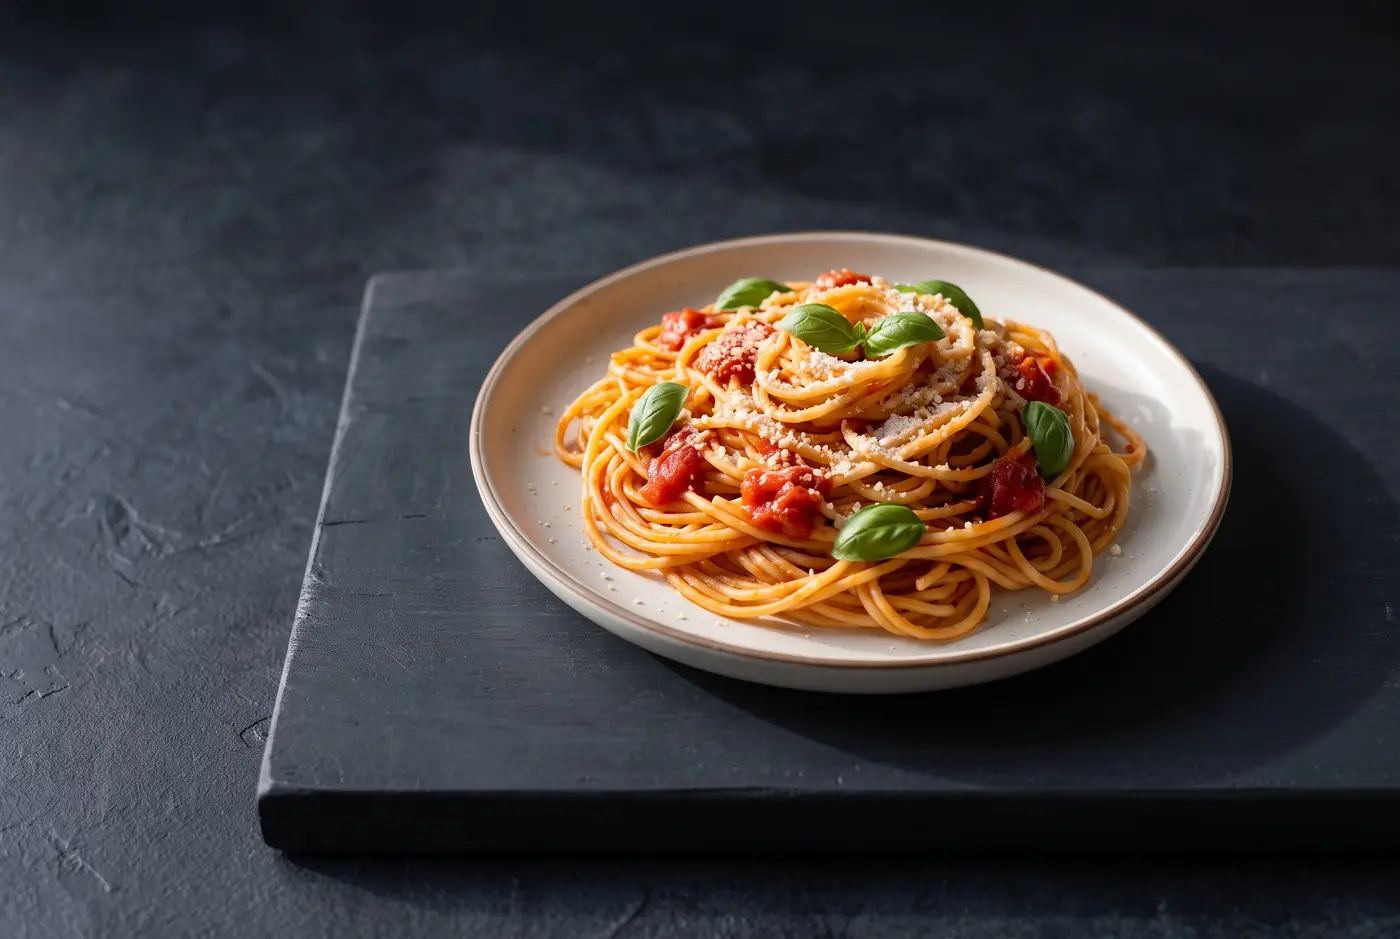
Pick one or two backgrounds and reuse them across your whole menu so the photos look like they belong together. Our guide to food photography backgrounds and backdrops compares 12 affordable options.
4. Style the plate for the camera
Food styling for photography is mostly about restraint and freshness.
- Plate the real portion. Customers notice when a photo promises more than the kitchen serves.
- Wipe the rim and remove drips, stray crumbs, and fingerprints.
- Add height and color with garnish that belongs in the dish, not decoration for its own sake.
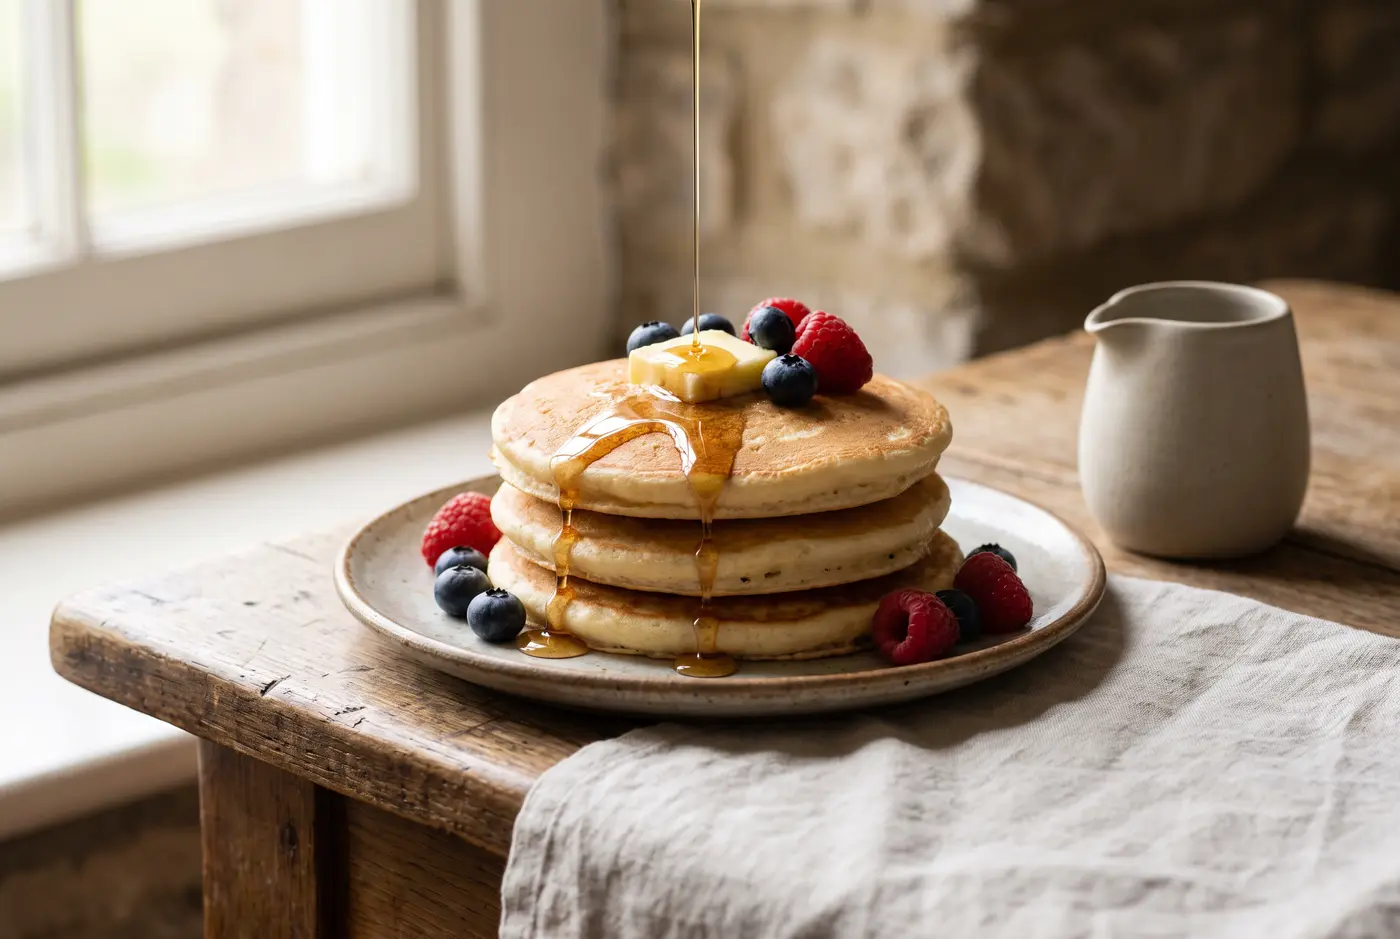
- Use one or two props that explain the dish, such as a syrup pitcher, cutlery, or a napkin.
- Shoot quickly. Sauces skin over, herbs wilt, and cheese sets within minutes.
5. Compose with room to crop
Fill most of the frame with the dish, but leave space around the plate. Delivery apps and websites crop the same image into squares, wide banners, and thumbnails, and a plate that touches the edge of the frame can't be cropped safely.
A few composition habits help:
- Put the hero dish slightly off-center, or dead center for delivery-app tiles.
- Keep horizons and table edges straight.
- Let supporting items, such as a drink or side, sit softly behind the main dish.
- Take a few vertical shots for stories and posters while the dish is still fresh.
6. Show texture, steam, and freshness
Texture is what makes food look appetizing. Light from the side to show crusts and crumbs, and from behind to show steam, glossy sauces, and drinks. A darker background behind steam makes it much easier to see.
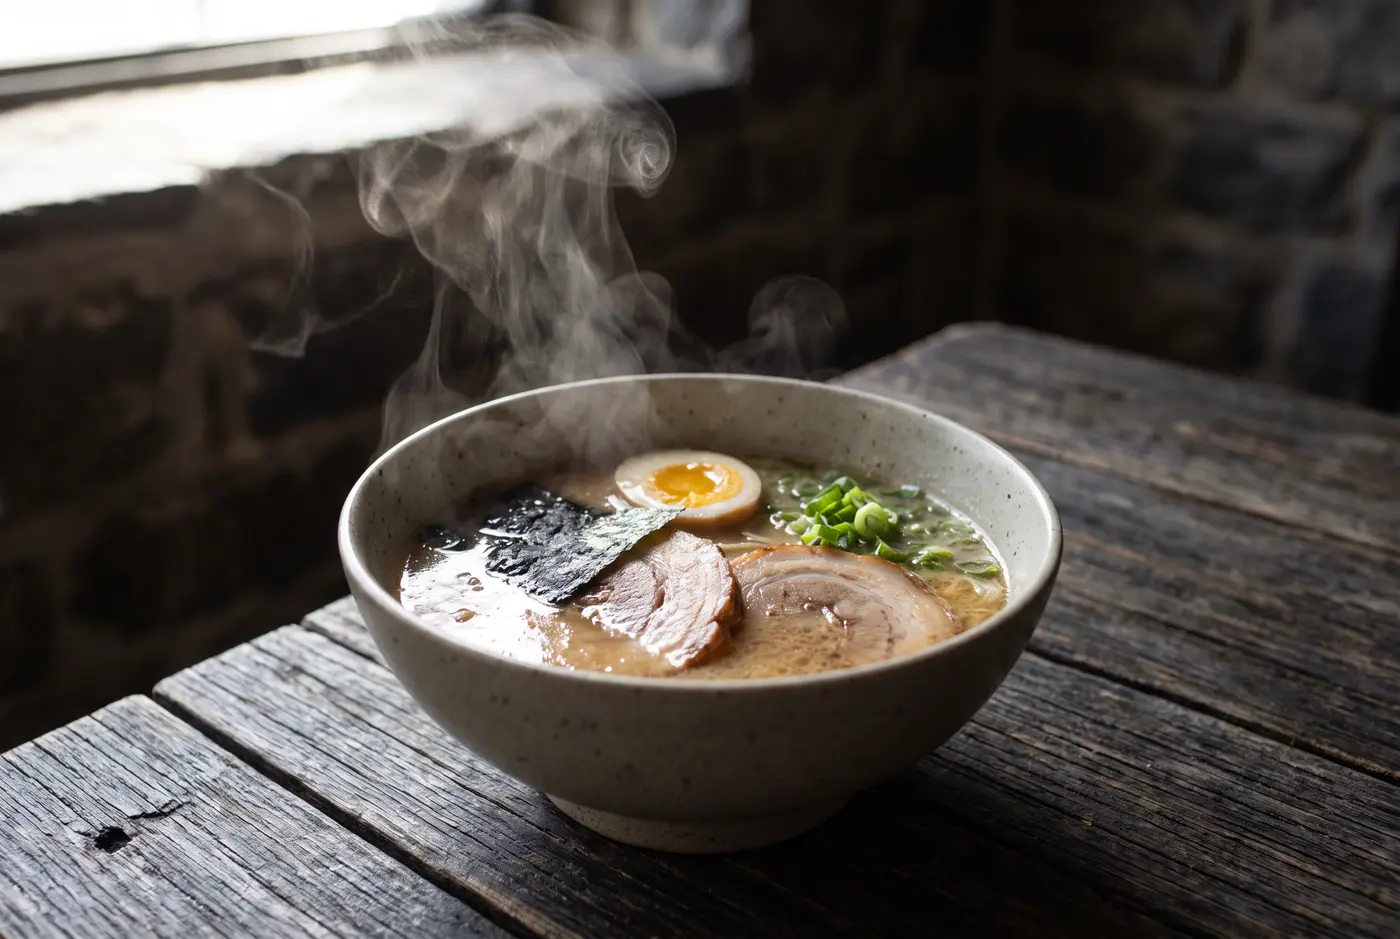
Cut sandwiches, burritos, and layer cakes to show the filling, and turn the cut face toward the light. For bakery items, our bread photography and cake photography guides show how to capture crumb, layers, and frosting.
7. Take great food photos with your phone
Modern phones take excellent food photos if you control a few settings:
- Clean the lens. Kitchen grease is the most common cause of soft, hazy photos.
- Use the 1x or 2x lens, not the ultra-wide, which stretches plates and makes food look farther away.
- Tap to focus on the hero area, then slide exposure down slightly so bright plates and sauces keep their detail.
- Turn off the flash and use window light instead.
- Turn on the grid to keep table edges straight.
- Hold still or use a small tripod in dim restaurants to avoid blur.
Portrait mode can blur the background nicely, but check the edges of glasses and garnishes, where the blur often looks artificial.
8. Edit lightly
Editing should correct, not transform. Adjust white balance so plates look white, lift shadows a little, add a touch of contrast, and straighten the frame. Avoid heavy filters, extreme saturation, and over-sharpening, which make food look artificial and can mislead customers.
Keep the same edit settings across a menu so every dish looks consistent. If your source photos are inconsistent, AI tools such as PlatePhoto can relight, clean up backgrounds, and match the look of every dish from photos you already have.
9. Photograph every format you need
While the set is ready, capture each format you will use:
- Square (1:1) for delivery-app menu items and Instagram.
- Wide (16:9 or 3:2) for website headers and delivery-app banners.
- Vertical (4:5 or 9:16) for stories, reels, and posters.
- A close-up for texture and social posts.
Each delivery platform has its own rules. See our guides to DoorDash photos and Uber Eats photos before you upload.
Common food photography mistakes
The most common problems we see in restaurant photos are dim yellow light, cluttered backgrounds, tight crops that cut off the plate, inconsistent angles across a menu, and over-edited color. Our guide to food photography mistakes shows how to fix each one.
Food photography by type of dish
Different foods need different treatment. These guides go deeper:
- Bread photography: crust, crumb, and bakery props.
- Cake photography: layers, slices, and cake photoshoot setups.
- Breakfast photography: eggs, pancakes, coffee, and brunch spreads.
Should you hire a food photographer?
Hire a professional when you need a large campaign, people or interiors in the shot, or exact control over a hero image for print. Our food photography cost calculator estimates a shoot budget, and our guide to finding a food photographer covers what to ask before you book.
For frequent menu updates, delivery-app photos, and social content, many restaurants photograph dishes themselves and use AI to give every image a consistent, professional finish.
Food photography FAQ
What is the best light for food photography?
Soft, diffused daylight from a window to the side of the dish. It shows texture and true color. Turn off overhead lights so they don't mix with the daylight.
What is the best angle for food photos?
It depends on the dish: overhead for bowls, pizzas, and flat dishes; 45 degrees for most plated food; straight-on for burgers, sandwiches, cakes, and drinks.
Can you take professional food photos with a phone?
Yes. With soft window light, a clean lens, the main (1x or 2x) camera, and careful exposure, phone photos work well for menus, delivery apps, and social media.
How do you make food look good in photos?
Use soft side light, plate the real portion neatly, keep the background simple, shoot while the food is fresh, and edit lightly so colors stay true to life.
Turn your food photos into menu-ready images
Upload a dish photo and PlatePhoto fixes the lighting, background, and styling in seconds, ready for menus, delivery apps, and social.
Read Next
Continue exploring our latest guides and tips
Professional Food Photography for Restaurants
Learn what goes into a professional food photoshoot. Compare cost, gear, styling, and retouching fees with affordable DIY and AI menu photo alternatives.
Read articleFood Photography Ultimate Guide for Restaurants
Food photography is an art that combines creativity and technical skill. It captures the essence of a dish, making it look as delicious as it tastes.
Read articleFood Photography Lighting: A Practical Setup Guide
Learn simple food photography lighting setups for restaurants, from soft window light to a repeatable one-light setup for menus and delivery apps.
Read article