
Cake Photography: 10 Tips for Bakeries and Dessert Menus
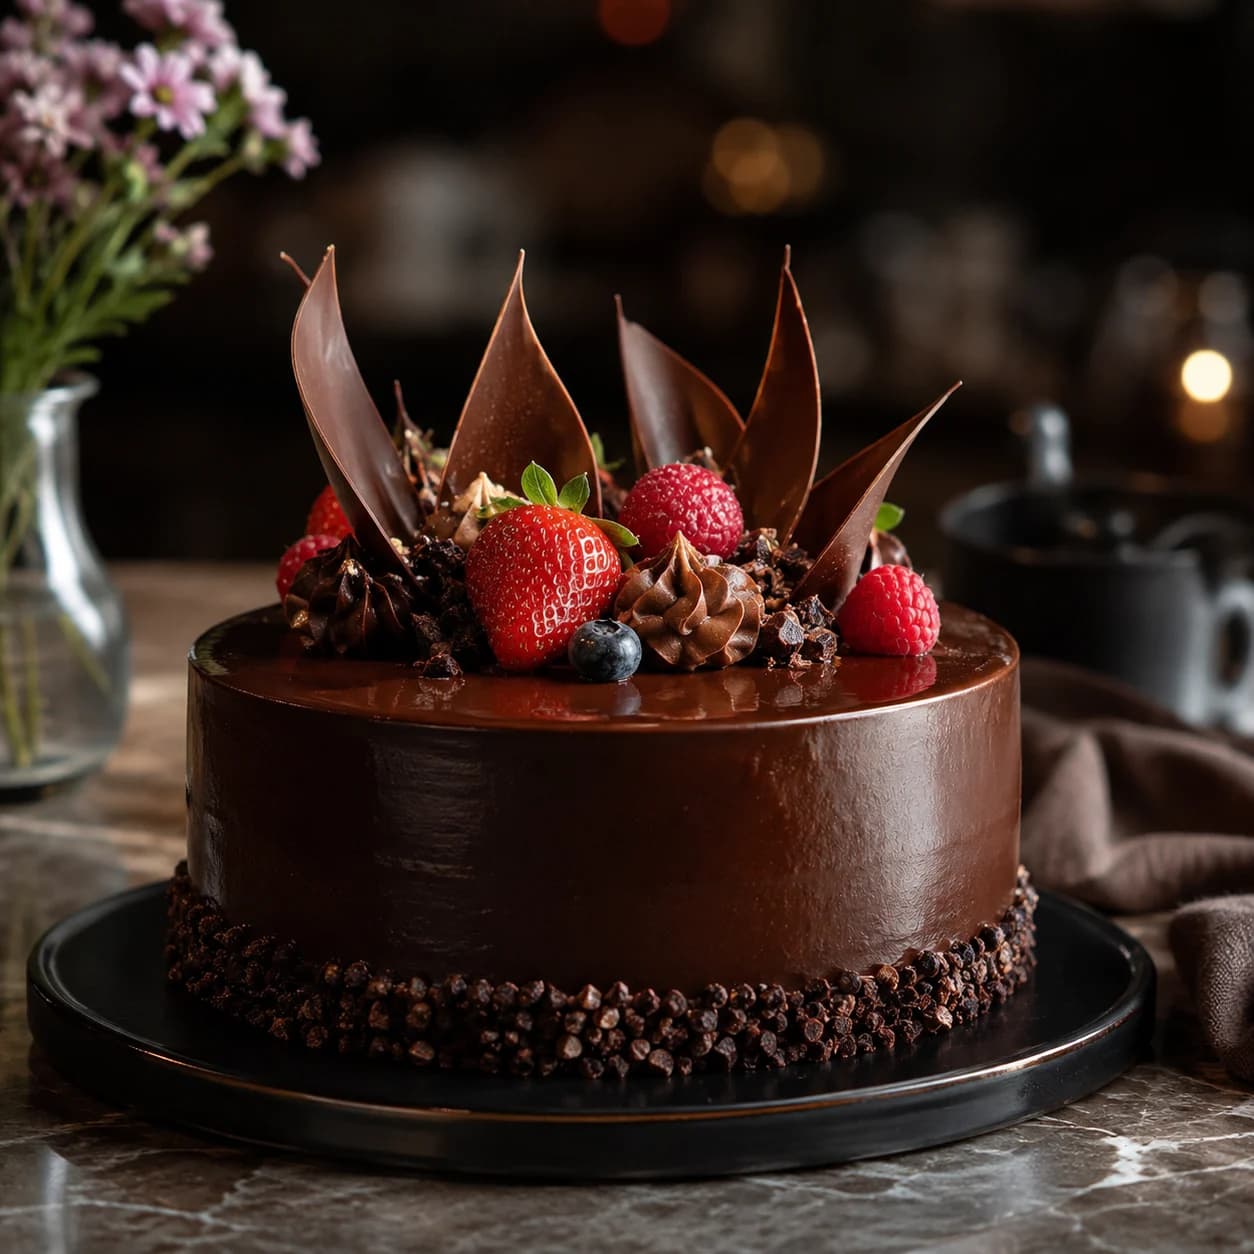
Cake photography should make the product easy to understand before it makes the scene decorative. Customers need to see the cake’s size, finish, layers, texture, and color. A controlled angle, soft light, and a clean slice usually matter more than an elaborate set.
These ten tips work for whole celebration cakes, layer cakes, cheesecakes, cupcakes, and plated dessert slices.
1. Decide what the photo needs to sell
Choose the hero feature before building the set:
- decoration and overall design,
- height and number of layers,
- filling and crumb,
- portion size,
- flavor ingredients,
- packaging or delivery presentation.
A whole-cake image is best for design and scale. A clean slice is best for layers and filling. Most bakery product pages benefit from both.
2. Use soft side light
Place a large diffused light or window to one side and slightly behind the cake. This reveals frosting texture, sponge, fruit, chocolate, and piping without creating flat front light.
Use a white board on the shadow side when dark chocolate, deep-colored frosting, or the front cut surface loses detail. Move the board rather than adding a second light immediately.
For a repeatable natural and artificial setup, see our food photography lighting guide.
Mirror glaze, ganache, fruit, and metallic decoration reflect the room. Use a large diffuser and rotate the cake until the highlight looks clean and intentional.
3. Choose the right cake photography angle
Straight-on
Use straight-on for layer cakes, tall celebration cakes, slices, and drip cakes. Keep the camera level so layers and cake boards remain horizontal.
45-degree angle
Use 45 degrees when the top decoration and side finish are both important. This is often the best compromise for a menu hero image.
Overhead
Use overhead for cupcakes, mini cakes, a dessert table, or a top design that is the main feature. It is less useful when the cake’s height and layers drive the purchase.
Our food photography angles guide can help you standardize the perspective across a bakery menu.
4. Prepare the cake stand and board
The stand should support the cake without competing with it.
- Choose a stand slightly wider than the cake.
- Clean fingerprints, crumbs, and frosting from the rim.
- Align the cake board with the stand.
- Hide temporary supports and transport materials.
- Check that the stand is level before adding the cake.
For a clean product-style image, a simple low-profile stand or board usually works better than an ornate pedestal.
5. Cut a clean slice
Layers attract attention only when the cut is neat.
- Chill the cake enough for the frosting and filling to hold.
- Use a long, sharp knife.
- Warm and wipe the blade between cuts when appropriate for the cake.
- Lift the slice with a cake server rather than pulling it sideways.
- Clean loose frosting from the cut face.
- Rotate the slice toward the light.
Do not over-clean the crumb until it looks artificial. Remove smears and debris while keeping the real texture visible.
6. Keep decoration believable
Photograph the product customers can order. If a garnish appears in the image, it should be included in the listed item or clearly identified as styling.
Check:
- piping consistency,
- candle and topper alignment,
- fruit freshness,
- chocolate bloom or fingerprints,
- edible flower condition,
- spelling on custom messages,
- loose crumbs around the base.
Make corrections before shooting. Small decoration issues become much more obvious in a close image.
7. Choose a background with contrast
Use the cake’s dominant tone to select the surface:
- white cake: pale gray, warm wood, soft color, or charcoal,
- chocolate cake: warm light neutral, stone, or restrained color,
- colorful celebration cake: simple neutral,
- fruit-topped cake: neutral background that keeps the fruit color clear,
- cheesecake: mid-tone surface that separates the pale filling.
Avoid matching the background too closely to the frosting. The cake needs a visible outline even at thumbnail size.
Our guide to food photography backgrounds includes portable and DIY options for bakery teams.
8. Add props only when they clarify flavor or occasion
Useful cake props include:
- one cake server,
- neutral napkin,
- a few real flavor ingredients,
- simple candles,
- branded cake box,
- one plated slice.
Avoid scattering large amounts of fruit, chocolate, flour, flowers, confetti, and utensils around the same cake. Props should frame the product, not create a visual search puzzle.
9. Photograph all the formats you need
Create a shot list before cutting or serving:
- whole cake at 45 degrees,
- straight-on whole cake,
- top detail,
- cut cake showing layers,
- single slice,
- packaging or delivery image,
- square menu crop,
- landscape website crop,
- vertical social crop.
Capture the whole cake first. Once it is cut, rebuilding the original finish may not be possible.
10. Edit for accuracy, not perfection
Adjust exposure, white balance, crop, and small distractions while protecting the product’s real appearance.
Avoid:
- smoothing frosting until its texture disappears,
- increasing saturation until fruit looks fluorescent,
- changing cake color away from the real product,
- sharpening crumb until it looks dry,
- making layers thicker than the served cake,
- removing every natural variation from handmade decoration.
Customers use the image to set expectations. A polished, accurate photo builds more trust than an impossible one.
Cake photography setups by product
Whole layer cake
Use a straight-on or 45-degree angle with side light. Capture the untouched cake, then cut one clean slice to reveal the interior.
Cheesecake
Light from the side to show the filling and crust. Protect pale highlights and use a mid-tone background for separation.
Cupcakes
Photograph one cupcake at a lower angle for detail and a small group overhead for assortment. Keep frosting heights and wrapper orientation consistent.
Mirror-glaze cake
Use a large diffused source and inspect reflections from the camera position. Black and white cards outside the frame can define the curved edge.
Cake slice on a dessert plate
Turn the cut face slightly toward the light. Keep the back point and front edge sharp enough to describe the slice. Use sauce and garnish sparingly.
Boxed cake for delivery
Capture the closed branded box, the cake secured inside, and the unboxed hero image. Make sure the delivery photo represents the actual packaging customers receive.
A bakery cake photo checklist
Before shooting:
- Confirm the decoration matches the orderable item.
- Clean the stand, board, and background.
- Set the light before moving the cake.
- Photograph the whole cake before cutting.
- Prepare a sharp knife, server, and cleaning cloth.
Before publishing:
- Check frosting and crumb detail.
- Compare colors with the real cake.
- Confirm crop-safe space around decorations.
- Remove visible fingerprints and smears.
- Review the image beside the rest of the bakery menu.
For more product types and bakery workflows, visit our bakery food photography page. You can also run the finished image through the menu photo grader.
Cake photography FAQ
What is the best angle for cake photography?
Use straight-on for layers and height, 45 degrees for the top and side together, and overhead for cupcakes or top decoration.
How do you photograph a cake with a phone?
Clean the lens, use the main rear camera, stabilize the phone, and shoot in soft side light. Avoid digital zoom and portrait-mode blur around intricate decorations.
How do you photograph shiny chocolate or mirror glaze?
Use a large diffuser, rotate the cake to control the highlight, and block unwanted room reflections with cards outside the frame.
Should cake photos show a slice?
Show a slice when layers, filling, or crumb influence the purchase. Capture the whole cake first, then add a clean interior view.
Create polished cake photos without a studio shoot
Upload a cake photo and use PlatePhoto to refine the lighting, background, and presentation for your menu.
Read Next
Continue exploring our latest guides and tips
Food Photography Angles for Restaurant Menus
Discover the best food photography angles for restaurant menus. Learn exactly when to shoot overhead, 45-degree, or straight-on to show off your dishes.
Read articleBreakfast Photography: 11 Tips for Cafe and Brunch Menus
Create bright, appetizing breakfast photos for cafe and brunch menus. Learn how to style eggs, pancakes, coffee, pastries, and full breakfast plates.
Read article5 Food Photography Mistakes Costing You Orders
Avoid the 5 most common food photography mistakes that are costing your restaurant orders. Learn simple lighting, plating, and camera framing fixes today.
Read article